
If you're in the process of establishing connectivity between Viewpoint and Trimble Integrations, this will come in handy.
Please note: If the integration that you are subscribing to includes moving documents such as receipt images to the Viewpoint server, please ensure that these steps are followed for both the Viewpoint database, as well as the VPAttachments database, if applicable. The XChangeServiceUser will require access to both databases.
***Please Note*** If you are using the Procore Financials < > Vista integration you need to set up your user with these instructions instead.
Creating a Trimble Integrations Service User SQL User
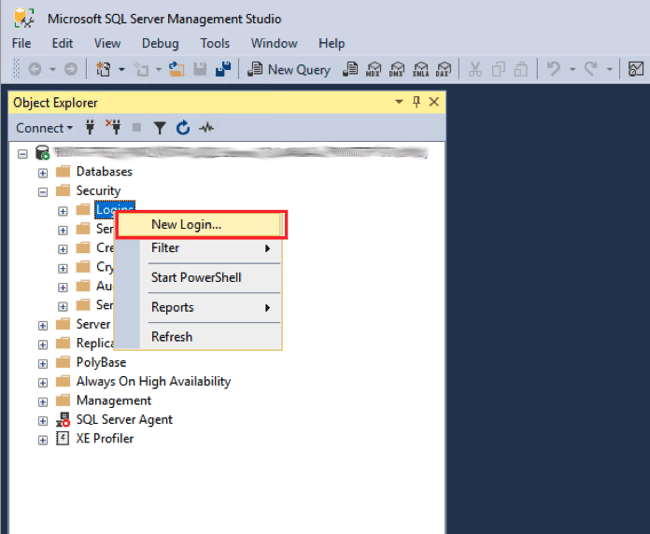
- Within Microsoft SQL Management Studio, expand the Security menu and right-click Logins to expose the “New Login…” menu option. Select “New Login”.
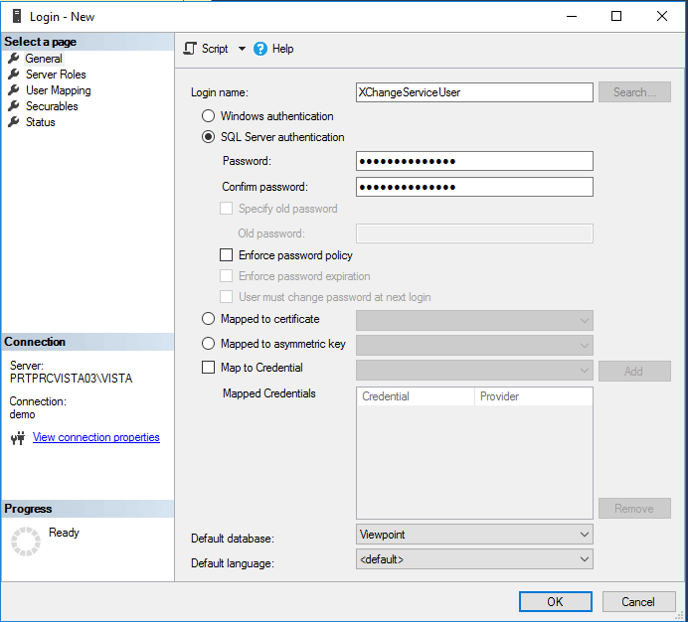
- Create a new login name
- Create a login name such as ‘XChangeServiceUser’
- Select “SQL Server authentication”
- Establish a password that meets your company password policy. We recommend:
- contains at least 12 alpha-numeric characters
- contains at least one exclamation point ( ! )
- Please do not use any other special characters.
- Uncheck “Enforce password policy”
- Note: if this is not done, your integration will be at risk of having a broken sync due to changing credentials over time.
- Ensure that the Default database is your Viewpoint database
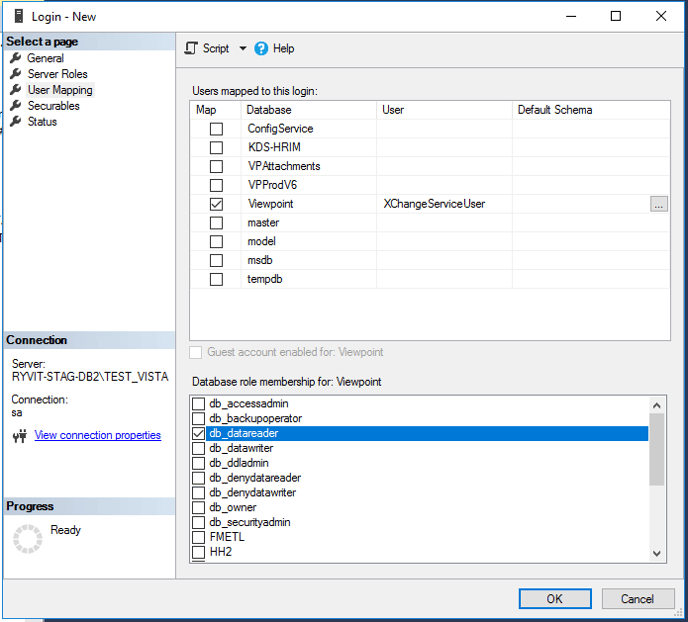
- Navigate to the User Mapping page to grant the XChangeServiceUser with database Read/Write permissions for your Viewpoint database
-
- Select your Viewpoint database
- Grant the user the following permissions:
- db_datareader
- public
- VCSUsers
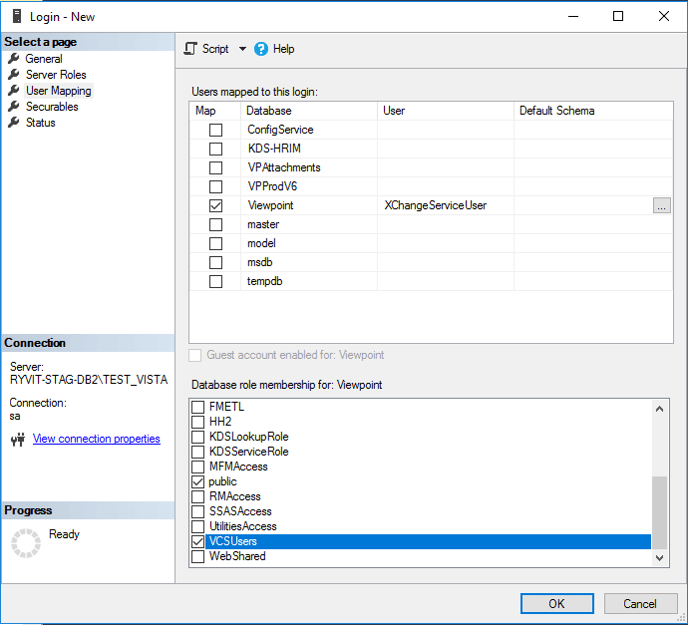
4. Click OK.
Authorizing the new ‘XChangeServiceUser’ SQL User for the Vista Attachments database.
- Confirm whether or not your setup leverages a separate Vista Attachments database
- Open Vista Application DM Attachment Options
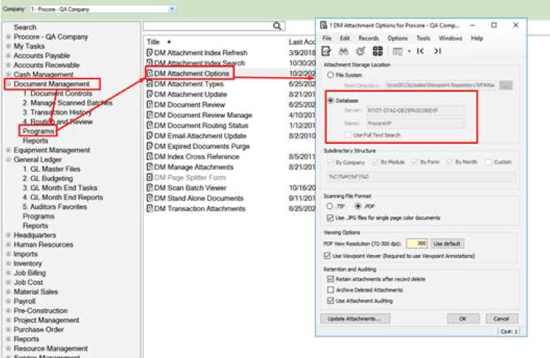
- If the 'File System' option is selected, then you do not have a separate Vista Attachments database. You can skip to Configuring the Vista Application User.
- If the 'Database' option is selected and the name of your database is your standard Vista database (usually Viewpoint), then you do not have a separate Vista Attachments database. You can skip to Configuring the Vista Application User.
- If the 'Database' option is selected and the name of the database is NOT your standard Vista database name, then you do have a separate Vista Attachments database. Please complete Step 2 - Setting up 'XChangeServiceUser' for your Attachments Database.
- Open Vista Application DM Attachment Options
- Setting up ‘XChangeServiceUser’ User for your Attachments Database
- Execute the following SQL script in SQL Server Management Studio
USE VPAttachments ⬅️ Change this to your Vista Attachments Database name
GO
CREATE USER [XChangeServiceUser] FOR LOGIN [XChangeServiceUser]
GO
ALTER ROLE [db_datareader] ADD MEMBER [XChangeServiceUser]
GO
ALTER ROLE [db_datawriter] ADD MEMBER [XChangeServiceUser]
GO
GRANT EXECUTE TO XChangeServiceUser
GO
- Execute the following SQL script in SQL Server Management Studio
Configuring the Vista Application User
Vista system access is performed through the Viewpoint Vista views and stored procedures. This aligns Trimble Intgrations access patterns with those of the standard Viewpoint Vista software. This also means that our user must be a valid Viewpoint Vista user and a member of the appropriate Data Security Groups to Vista Data.
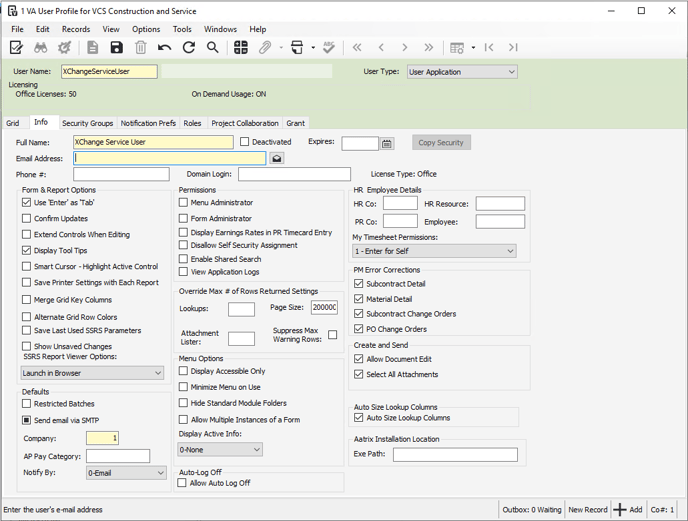
- Open the Vista VA User Profile application

- Create a New Vista User Profile
- Click the New Record icon
- Username = XChangeServiceUser
- Tab out and then change the User Type to 'User Application'
- Note: most of the form items will become disabled.
- Full Name = XChange Service User
- Email Address = email address does not matter and can be any real or fake email. The integration does not use it, but the field may be required by your Vista form
- Save.
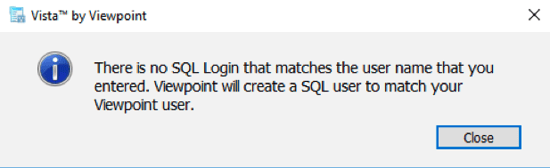
- You may be prompted that there is no SQL login that matches that username. Close it out.
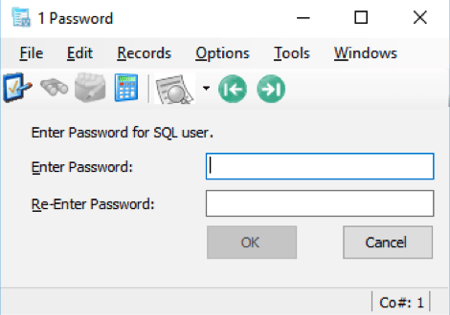
- You may also be prompted for SQL User Password. If so, enter the same password used when creating the SQL User name 'XChangeServiceUser'.
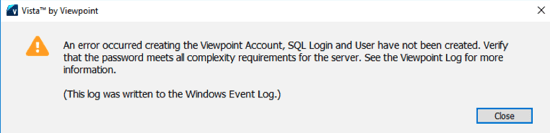
- You may see an error message like the one below. Do not be alarmed. The SQL sure created will still be tied to the Vista user you just created. You can close.
- Assign Proper Security Groups to the new 'XChangeServiceUser'.
- Your security group configuration is specific to you and how your Vista administrator set it up. You must grant security group access to the data types used by the integration, otherwise the integration will be unable to access the data. If you are unsure which security groups are needed by your integration, contact your Vista administrator.
- Confirm whether or not you leverage Vista Data Type Security.
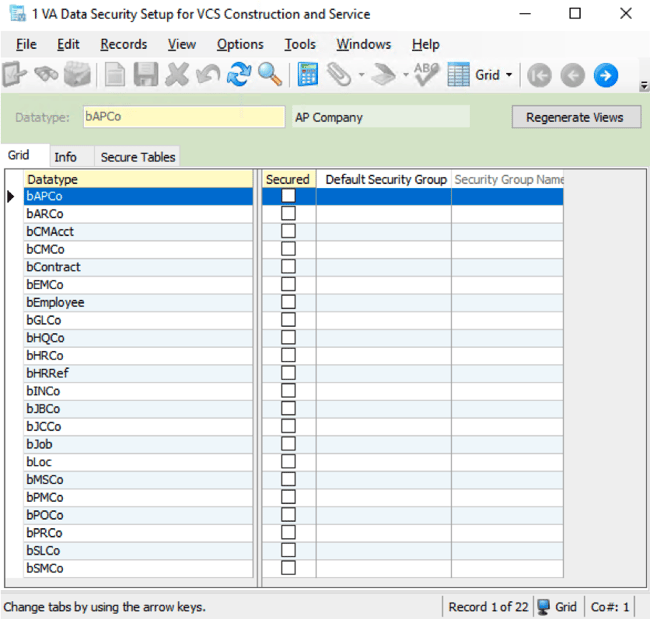
- If none of these Data Types are checked as 'Secured', then you do NOT use Data Type Security and you can skip to the end.
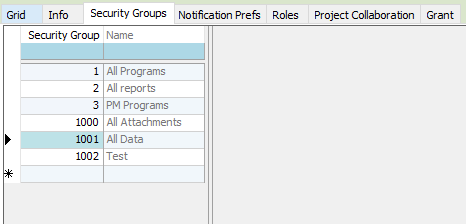
- Generally, there will be an 'All Data' (or similar group) that will provide the access the XChangeAgent needs. Select the needed Data Type Security groups.
- Note: App XChange's filtering ensures we only pull the companies you have specified. We will not touch companies that should not be integrated.
- Note: App XChange's filtering ensures we only pull the companies you have specified. We will not touch companies that should not be integrated.
- Click 'OK' to add 'All Data'
- Click the 'Save' icon on the VA User Profile form.
Once all steps are complete, please respond to your Trimble Integrations representative with the following:
- Server name
- Database name
- PW for the XChangeServiceUser
If you're in the process of migrating to Viewpoint Cloud, return here for Step 4.
If you need help, please contact xchange_support@trimble.com.